

If you really want to master portrait photography, it's not just about pointing a camera and clicking. It's about learning to speak the language of light. The way you shape and control light is what separates a simple snapshot from a portrait that truly connects with the viewer, telling a story and stirring emotion.
How Light Shapes the Story in a Portrait
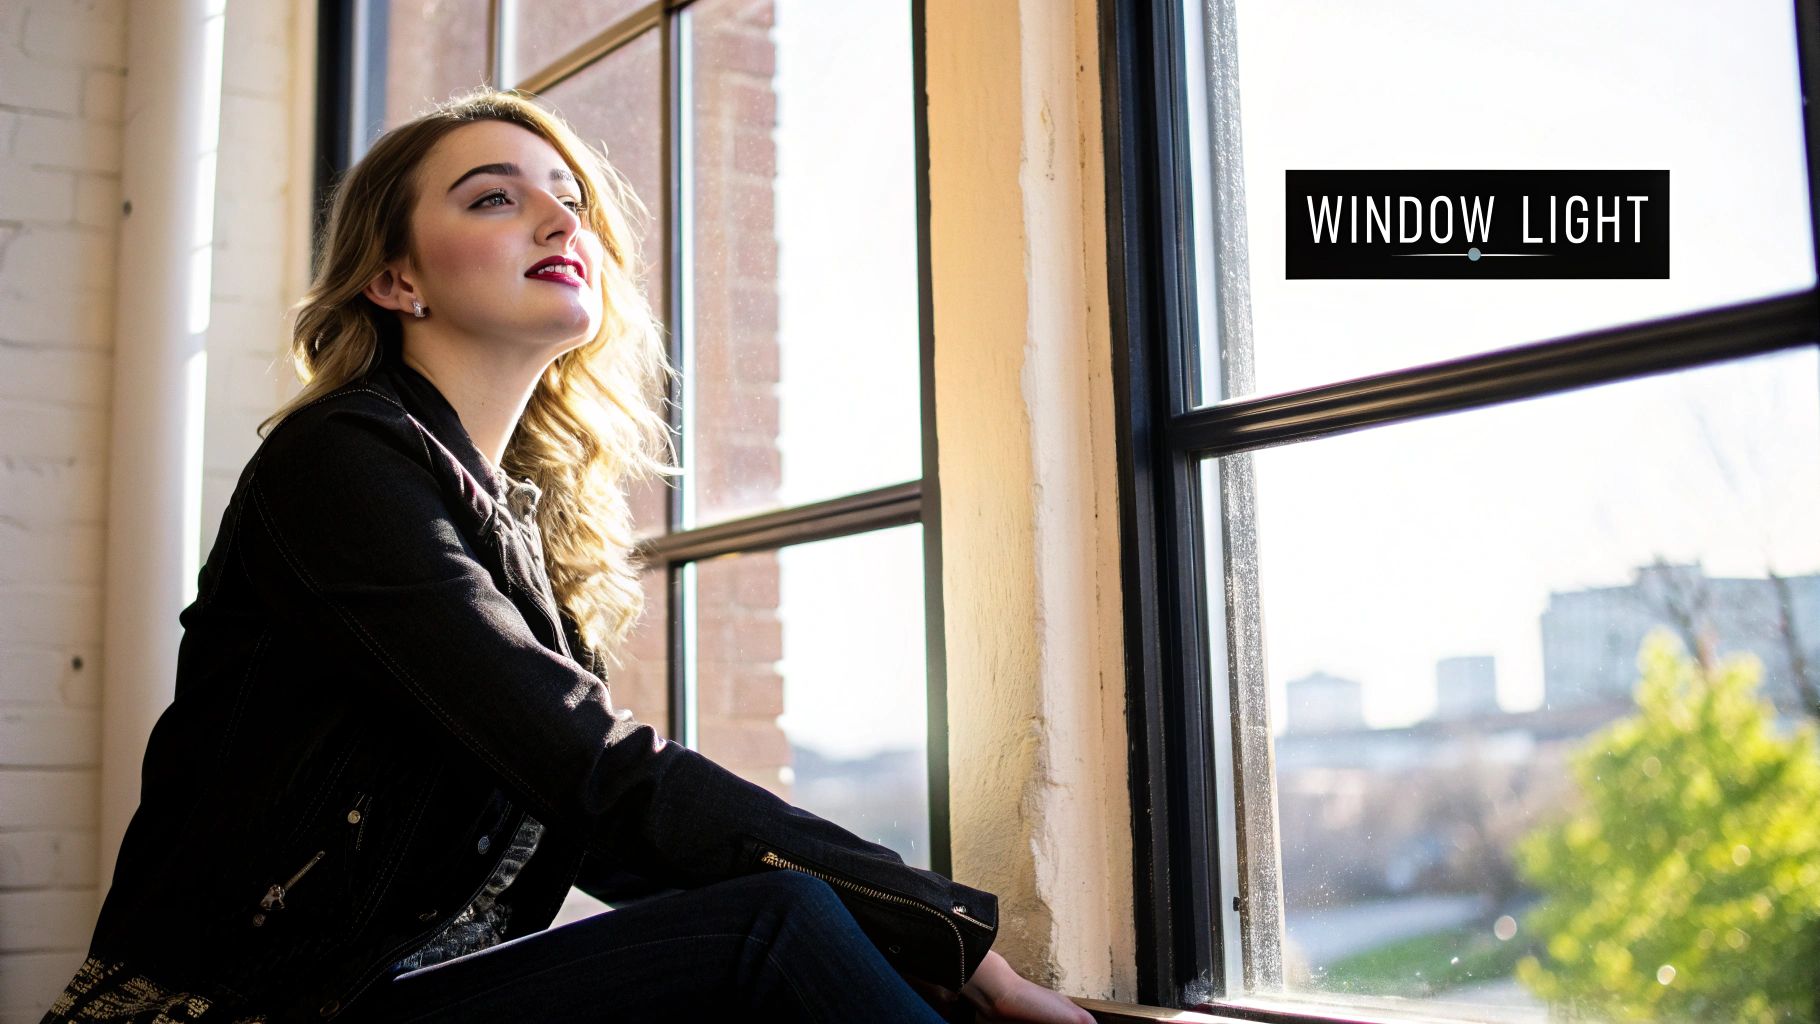
Before you even think about setting up a strobe or unfolding a reflector, you need to get a feel for light's fundamental properties. How light falls across a person’s face can communicate everything from raw power and mystery to vulnerability and joy.
Every lighting decision you make boils down to three core elements: quality, direction, and color. These aren't just technical settings; they are the tools you'll use to sculpt your subject, set the mood, and guide the viewer's eye exactly where you want it.
Understanding Light Quality
When photographers talk about light "quality," they're not judging it as "good" or "bad." They're talking about the transition between the bright areas and the dark areas. Is it hard or is it soft?
-
Hard Light: This creates sharp, well-defined shadows with distinct edges. Picture the harsh light of the midday sun or the pop from a bare-bulb flash. Hard light is perfect for adding drama, emphasizing texture, and creating a gritty, edgy feel.
-
Soft Light: This gives you smooth, gentle transitions between highlights and shadows. Think of the diffuse light on an overcast day or the wrap-around light from a big softbox. It’s a go-to for portraits because it's incredibly flattering, minimizing skin texture and creating a beautiful, open look.
Here's a simple rule I always come back to: the relative size of your light source dictates its quality. A bigger light source placed closer to your subject will give you softer light. A smaller source, farther away, will produce harder, more defined shadows.
The Power of Light Direction
Where you place your light is everything. Seriously, moving a light just a few feet can completely change the mood of the image and even how we perceive the subject's expression.
This isn't a new idea. Photographers have been wrestling with light direction for centuries. Back in the 1850s, a French photographer named Nadar was one of the first to experiment with artificial light, using battery-powered electric lamps. He used powerful side lighting and reflectors to sculpt his subjects' faces, creating a depth and dimension that was a precursor to what we now call Rembrandt lighting. It's fascinating to look back at early portrait photography and see how these foundational concepts took shape.
Color and Emotional Impact
The final piece of the puzzle is color. The color of your light, also known as its temperature, adds a powerful emotional layer to your portrait. We measure this in Kelvin (K).
Warm, golden light (around 3200K) tends to feel inviting, intimate, or even nostalgic. It’s fantastic for creating cozy, warm-hearted portraits.
On the other hand, cool blue light (around 6500K) can evoke a sense of calm, distance, or sometimes a touch of melancholy. While you can always tweak this in post-production, getting the color right in-camera gives you a much stronger starting point. If you want to dive deeper into post-production, you can learn how to edit photos professionally to nail the final color and mood.
By consciously choosing the quality, direction, and color of your light, you elevate your work. You're no longer just taking pictures—you're crafting portraits that tell a compelling story.
Your Essential Portrait Lighting Toolkit
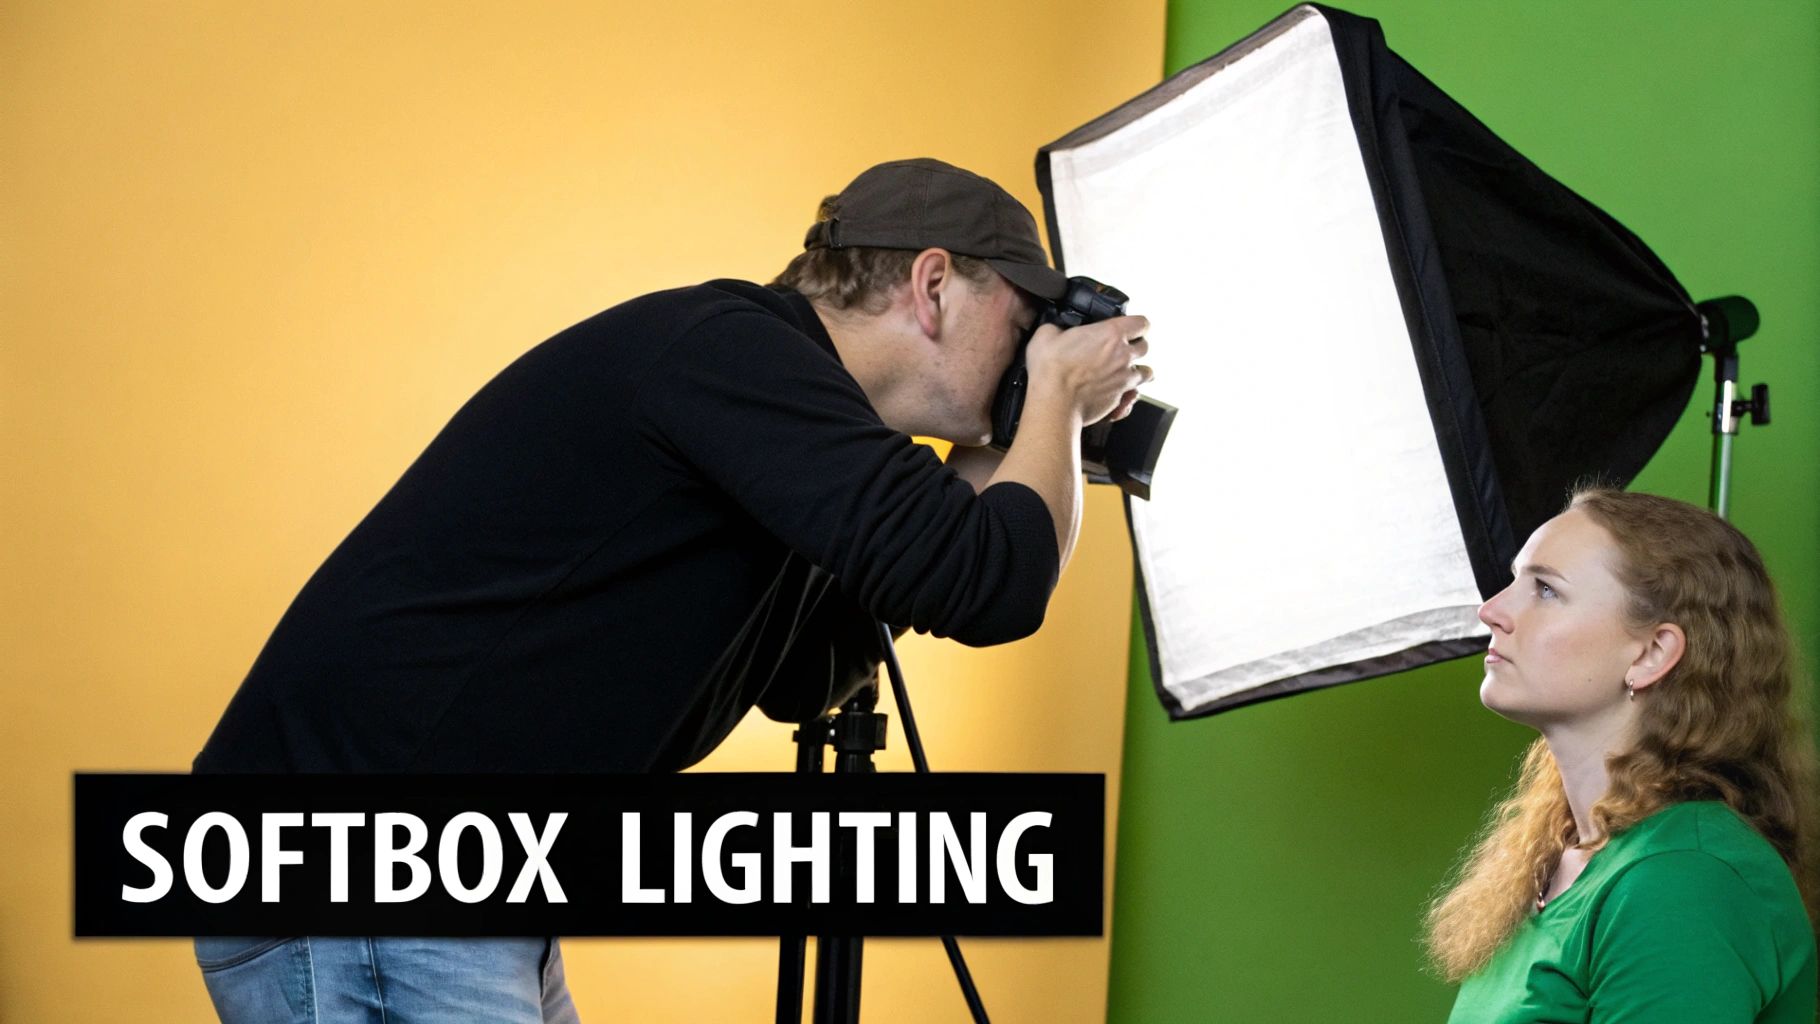
Getting great light in your portraits isn't about owning a truckload of expensive gear. It’s about knowing which tool to grab for the job at hand. Your creative vision should drive your equipment choices, not the other way around.
Let's walk through the core pieces you'll need in your lighting toolkit. I'll focus on what each piece actually does and, more importantly, when you should use it. The foundation of it all, of course, is the light source itself.
Choosing Your Light Source
The light you choose will shape everything from your shooting style to where you can actually shoot. It really boils down to three main options: speedlights, strobes, and continuous LEDs.
-
Speedlights: These are the small, portable flashes you can pop on your camera's hot shoe or, even better, use off-camera. Their biggest win is their size and battery power. They’re perfect for on-location shoots, covering events, or any time you need to be nimble.
-
Strobes (Monolights): Think of these as the workhorses of the photo studio. Strobes are way more powerful than speedlights, giving you the punch to overpower the sun, use super-low ISOs for clean images, and fill huge light modifiers for that incredibly soft look. Many now come with battery packs, making them surprisingly portable.
-
Continuous LEDs: Unlike a flash, LEDs stay on. This is a game-changer for beginners because what you see is what you get—you can watch the light and shadows fall in real-time without taking a test shot. They're also a must-have for anyone shooting both photos and video.
If you're just starting, my advice is always the same: get one good speedlight and a wireless trigger. Learn how to use it off-camera first. It's a budget-friendly way to really understand the fundamentals of light direction before you spend big on a studio setup.
Shaping the Light with Modifiers
A bare flash bulb is harsh and unflattering. Period. A light modifier is simply anything you place between that light and your subject to change its quality—to soften, focus, or shape it. The modifier you pick has a massive impact on the final feel of your portrait.
Knowing how to control light is just as crucial as camera placement. Honestly, a solid lighting setup can elevate an image more than a simple change in perspective. And when you pair great light with a strong visual structure, the results are powerful. For anyone looking to build that foundation, exploring different tips to improve your photography composition is a great next step.
Key Modifiers and When to Use Them
Here’s a quick rundown of the most common modifiers I use and the situations where they really shine.
| Modifier Type | Best Use Case | The Resulting Look |
|---|---|---|
| Large Softbox/Octabox | Flattering headshots, beauty, and full-body portraits. | Creates beautiful, soft, wrapping light that minimizes skin imperfections. |
| Umbrella | Group photos or when you need to light a large area quickly. | Produces a broad, soft light that is very forgiving but can be harder to control. |
| Beauty Dish | Fashion, editorial, and stylized portraits. | A unique quality of light that's soft but with more contrast and definition than a softbox. |
| Grid or Snoot | Creating a hair light or a dramatic spotlight on a specific feature. | A very focused, hard-edged circle of light that prevents spill onto other areas. |
Choosing the right modifier is always a creative call. If I'm going for a soft, ethereal beauty shot, I’ll reach for my biggest octabox and push it in close to the model. But for a dramatic, low-key portrait where I need a pop of light on the hair to separate my subject from a dark background? A small gridded reflector or a snoot is the perfect tool. Building that intuitive knowledge just comes with practice.
Creating Stunning Portraits with a Single Light
You don't need a studio full of expensive strobes to create incredible portraits. Honestly, some of the most powerful and professional-looking images are made with just one light. Learning to master a single light source is a fundamental skill that pays off for your entire career. It forces you to get back to basics—to really see and understand how the direction and quality of light sculpt a face.
Many of the most iconic portraits in history rely on this kind of elegant simplicity. By just changing the light's position, height, or modifier, you can dial in a huge range of moods. You can go from soft and flattering to something far more dramatic and intense, all without adding a second strobe.
Let's break down four of the most foundational one-light setups that should be in every portrait photographer's playbook.
Mastering Rembrandt Lighting
Named after the legendary painter himself, Rembrandt lighting is all about creating a moody, classic, and dimensional portrait. Its tell-tale sign is that small, inverted triangle of light you see on the cheek opposite the key light. It’s this little detail that gives a face so much depth and form.
Getting this look is all about placement. You'll want to position your key light high and to the side of your subject, usually at about a 45-degree angle. The goal is to have the shadow from the nose stretch across the face just enough to connect with the cheek's shadow, perfectly framing that signature triangle of light.
If the triangle is too big or just not there, try moving your light further to the side. If you don't see it at all, you might have the light too close to your camera.
Pro Tip: I see a lot of photographers make the mistake of using a light source that's too hard. This creates really sharp, distracting shadow edges. I'd suggest starting with a medium-sized softbox to get a softer, more gradual transition from highlight to shadow. It gives the final image a more painterly, less harsh feel.
Creating with Loop Lighting
Loop lighting is probably one of the most versatile and flattering setups out there, making it a perfect starting point if you're new to this. It's not quite as dramatic as Rembrandt, but it still does an amazing job of defining and shaping facial features.
The setup is pretty close to Rembrandt, but you'll bring the light a bit lower and closer to the camera's position. What you're looking for is a small "loop" of shadow from the nose that points down toward the corner of the mouth. The key here is that this shadow should not connect with the main shadow on the side of the face.
- Light Position: Start with your light about 30-45 degrees from the camera.
- Light Height: Place the light just a little bit above your subject's eye level.
- Shadow Check: Keep an eye out for that small, downward-pointing nose shadow.
This setup is a real workhorse. It looks great on almost any face shape and is my go-to for corporate headshots and general portraits because it's so universally appealing.
The image below gives a great visual of how the angle of your light directly impacts the shadow coverage on the face, which is the whole secret to creating these specific patterns.
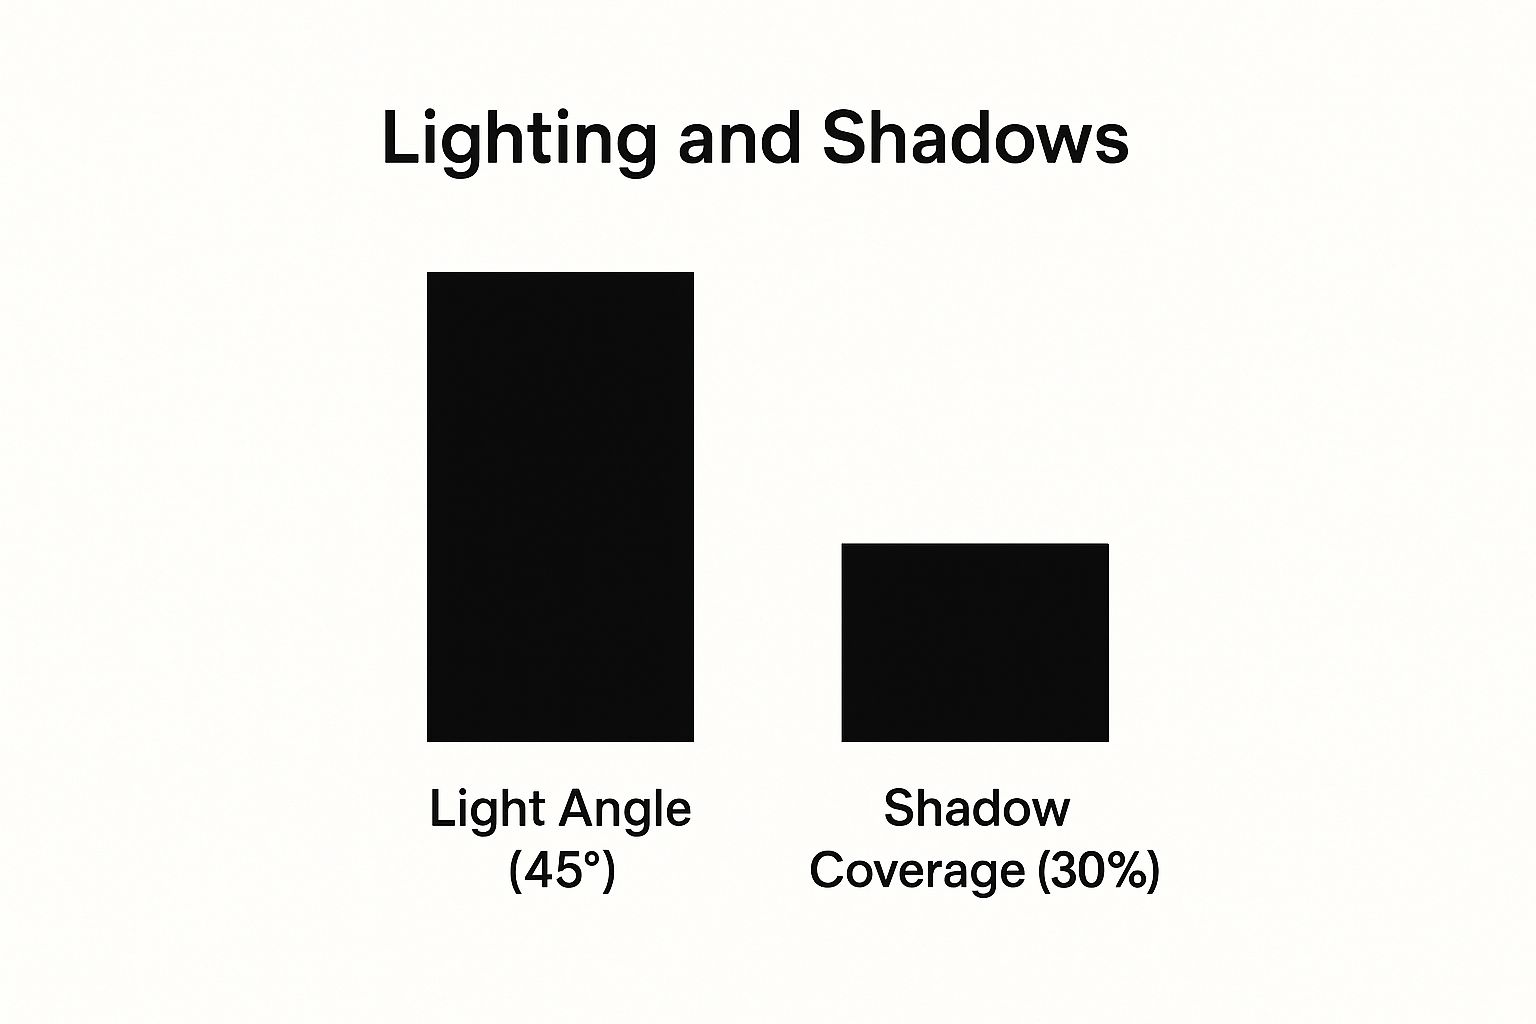
As you can see, a 45-degree light angle can create around 30% shadow coverage on the face—a fantastic ratio for crafting portraits that have dimension but still feel open and flattering.
To help you decide which setup to use and when, here’s a quick-glance table comparing these classic lighting styles.
One-Light Portrait Lighting Setups at a Glance
| Lighting Style | Key Characteristic | Mood & Vibe | Best For |
|---|---|---|---|
| Rembrandt | Triangle of light on the shadow-side cheek | Dramatic, moody, classic | Artistic portraits, creating depth |
| Loop | Small nose shadow "loop" toward mouth | Flattering, professional | Headshots, general portraiture |
| Split | One half of the face lit, the other in shadow | Intense, mysterious, bold | Creative portraits, highlighting features |
| Butterfly | Symmetrical shadow under the nose | Glamorous, sculpting, elegant | Beauty, fashion, glamour shots |
This table should give you a solid starting point for choosing the right light for the story you want to tell.
The Drama of Split Lighting
When you really want to make a statement, split lighting is the way to go. This technique is exactly what it sounds like: you light one half of the subject's face perfectly while leaving the other half almost completely in shadow. It's a dramatic, mysterious look that's fantastic for creating tension or really emphasizing strong facial features like a sharp jawline.
To pull this off, you need to place your light source directly to the side of your subject, at a clean 90-degree angle. The height can be adjusted, but starting around head level is usually the sweet spot. You might find the shadow side is too dark, so consider using a reflector or a nearby white wall to bounce just a touch of light back in, ensuring you retain some detail and don't end up with pure black.
The Flattery of Butterfly Lighting
Also known in the industry as "paramount" lighting, this was the signature look of classic Hollywood glamour shots for a reason. Butterfly lighting is incredibly flattering, especially for people with high cheekbones, because it creates these beautiful, soft, and symmetrical shadows just under the nose and chin.
For this setup, your single light source goes directly in front of and high above your subject, angled down at their face. This position creates that distinctive, butterfly-shaped shadow right under their nose. It's a non-negotiable staple for beauty and fashion photography because of how well it sculpts the face and tends to minimize skin texture.
Once you’ve nailed the shot in camera, diving into different photo editing tips and techniques will help you add that final layer of polish.
Getting comfortable with these four patterns gives you an incredibly versatile foundation. Once you understand how a simple shift in light placement can completely change the mood of a portrait, you'll be able to walk into any session with just one light and a whole lot of confidence.
Taking Your Portraits to the Next Level with Multiple Lights
Once you’ve mastered shaping a portrait with a single light, you’re ready to really start crafting. Bringing in a second or third light source is where the magic happens, giving you the power to add depth, separate your subject from the background, and create that polished, cinematic look we all love.
But there's one golden rule here: build your lighting one light at a time. It’s a classic rookie mistake to turn everything on at once. You’ll just get a confusing mess and won't know what each light is actually contributing.
Always, always start with your main light—your key light. Dial that in first. Get the shadows, the mood, and the shape exactly how you want it. Only then should you even think about turning on the next light.
Taming the Shadows with a Fill Light
Your key light does the heavy lifting, creating the primary shadows that give a face its dimension. The fill light’s job, as its name suggests, is to "fill" in some of that shadow.
Now, we're not trying to kill the shadows completely—without them, your portrait goes flat. The goal is to control their intensity.
A powerful fill light will give you a bright, high-key look with minimal shadowing. On the other hand, a very subtle fill, set to a much lower power, just gently lifts the darkest areas. This lets you keep all the rich detail in the shadows without losing the dramatic, sculpted look from your key.
Here’s how I approach setting up a fill light:
- Placement: I put it on the opposite side of my camera from the key light. This creates a soft, even "fill" from the other direction.
- Power: Start low. Really low. I usually aim for a 1:4 or 1:8 ratio relative to my key light. So if the key is at full power, the fill might be at just 1/4 or 1/8 power.
- Quality of Light: You almost always want your fill light to be soft and diffuse. A big softbox or a bounced umbrella is perfect because it fills the shadows gently without creating a new, competing set of harsh shadows.
A great way to think about it is that your key light is the sun, creating those defined shadows. Your fill light is the ambient light from the big, blue sky—it doesn't cast its own shadows, it just softly brightens the ones the sun made. Finding that balance is everything.
Creating Separation with a Rim or Hair Light
Ever see a portrait where the subject just pops off the background, almost like they're three-dimensional? That’s the work of a rim light. This is a light placed behind your subject, usually off to one side, pointing back towards them and, to some extent, your camera.
What it does is create a thin, bright line—a "rim"—of light along the edge of your subject’s hair, shoulders, or even their jawline. It's one of the most powerful lighting techniques for portrait photography for carving your subject out from their surroundings, especially against a dark backdrop.
You’ll often hear this light called a hair light when it's positioned higher up and behind the subject, aimed down onto their head and shoulders. It adds a gorgeous sheen and stops dark hair from disappearing into a dark background.
A few tips for using a rim light:
- Positioning: Get it behind the subject so it's out of your camera’s frame. You'll probably need a grid or a snoot on the light to control the spill. The last thing you want is that light firing straight into your lens and causing a massive flare.
- Power: This is purely a creative call. A lower-powered rim light gives a subtle, clean separation. Crank it up, and you can create a really dramatic, almost angelic glow.
Juggling multiple strobes and modifiers can feel like conducting an orchestra, but having the right gear makes it manageable. As you grow, checking out different portrait tools will help you find what works best for your personal workflow.
Taking Full Control with a Background Light
The final piece of this multi-light puzzle is often a light dedicated solely to the background. It does exactly what it sounds like: it lights the background completely independently from your subject. This is where you get ultimate creative control.
Want a perfectly clean, high-key white background? Easy. Point a light (or two, for evenness) at your white seamless paper and set the power so it’s a stop or two brighter than the light on your subject.
Or maybe you want something more stylized. Slap a colored gel on that background light and wash the whole scene in blue, red, or whatever color fits the mood. You can even use a "gobo" (basically a stencil for light) to project a pattern, like the shadow of window blinds or dappled light from trees, onto a plain wall.
This ability to light the subject and background separately is a true hallmark of professional studio work. It lets you build your entire world from the ground up, making sure every single element in your frame is there on purpose.
Finding and Shaping Beautiful Natural Light
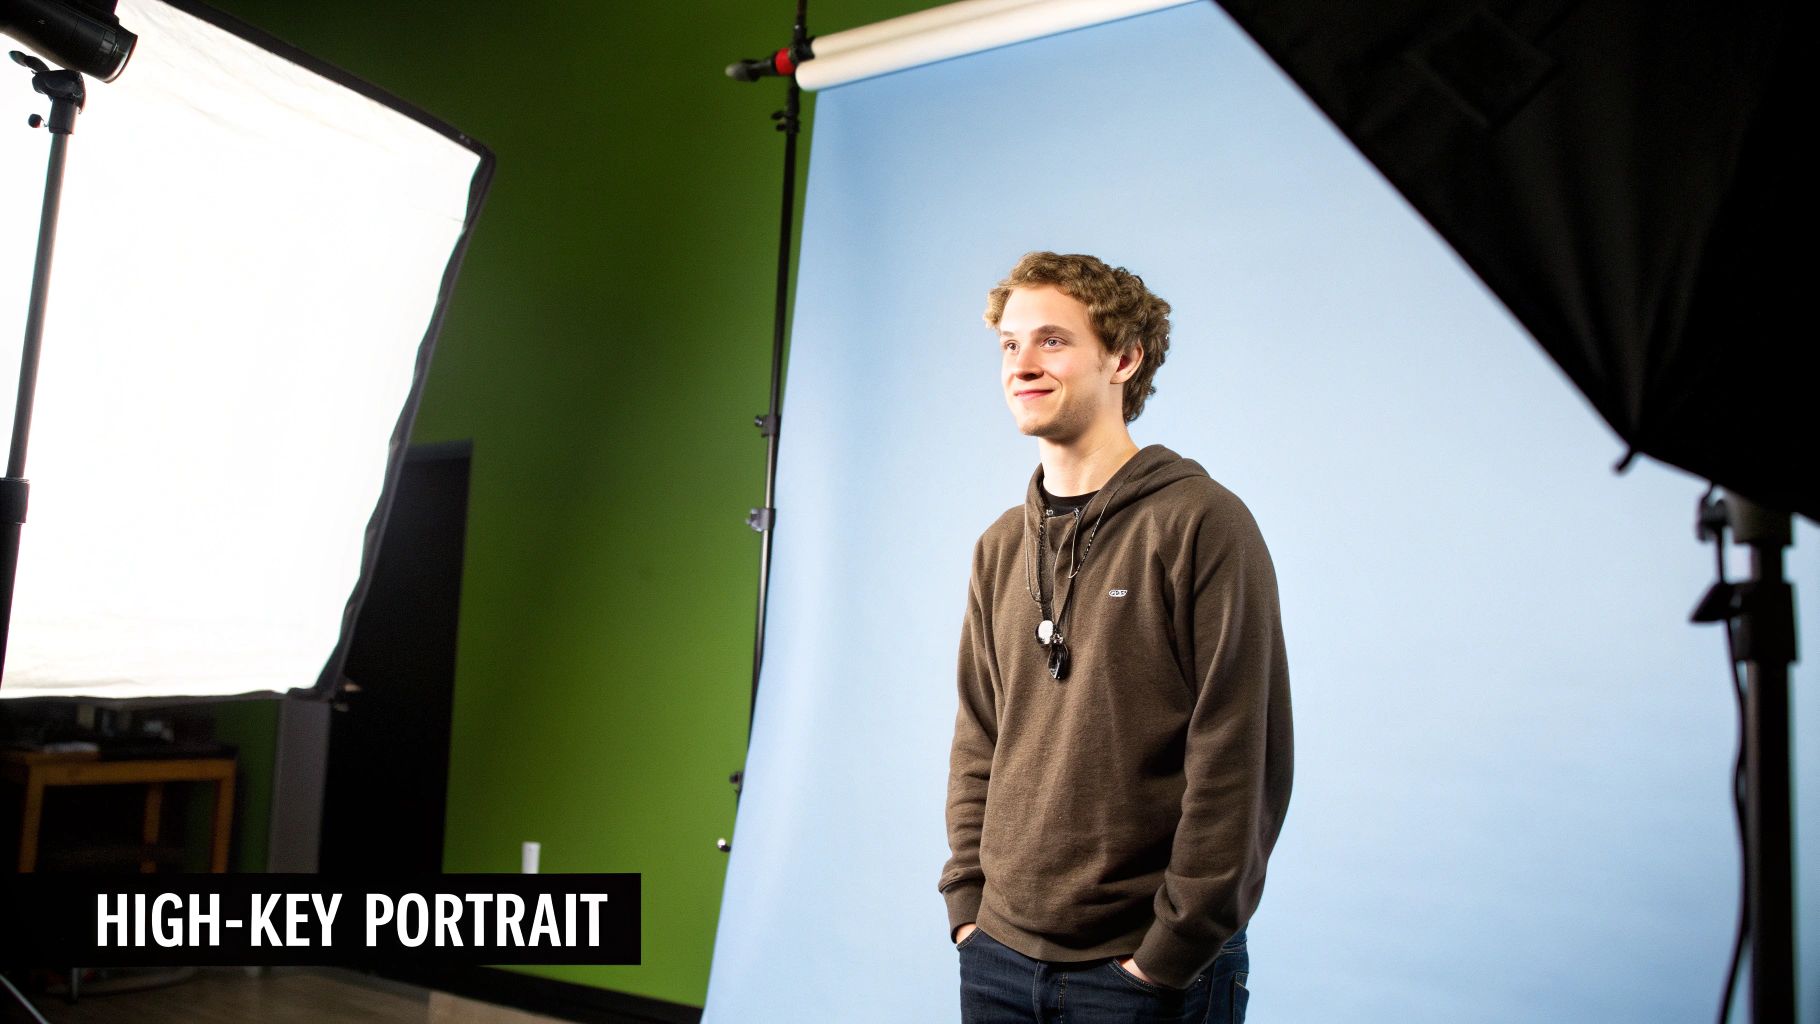
You really don't need a trunk full of expensive gear to create stunning portraits. More often than not, the most beautiful and flattering light is already there, just waiting for you to see it and shape it. Getting a handle on natural light is one of the most powerful skills you can develop in portrait photography, effectively turning any location into a studio.
The real trick is learning to read and manipulate the available light, whether it’s pouring through a window or filtering down through the trees. It’s a much more intuitive and subtle process than working with strobes, but the results can be just as impactful—and often feel far more authentic and intimate.
Using a Window as Your Key Light
A simple window is one of the most potent lighting techniques for portrait photography you have. Just think of a large, north-facing window as a giant, free softbox. It throws a gorgeous, soft, directional light that wraps gently around your subject’s face, creating delicate, painterly shadows and making skin tones look fantastic.
This isn’t a new trick; using window light is foundational to portraiture and has been a go-to for artists and photographers for centuries. In fact, many pros will tell you all you truly need for a great window-lit portrait is a window and a reflector. You can dive deeper into the history of this timeless approach and discover more insights about portrait photography techniques on Wikipedia. I find the best results come in the early morning or late afternoon when the indirect light is strongest, giving you that soft-yet-directional quality.
Controlling the look is as simple as changing where your subject is in relation to the window.
- For a soft, airy look: Position your subject facing the window, but at a slight angle. The light will fill in most of the shadows, giving you a very clean, bright feel.
- For something more dramatic: Have your subject stand parallel to the window. This creates a classic side-light, sculpting their features with deeper, more defined shadows.
A common mistake I see all the time is placing someone with their back to a bright window. This almost always gives you a silhouette unless you deliberately blow out the background or use a powerful flash to fill them in. Start with the window as your main light source hitting their face, not their back.
The Art of Using a Reflector
A simple reflector is your absolute best friend when working with natural light. It's so much more than a tool for filling shadows; it's an active light-shaping device. By bouncing light back onto your subject, you can sculpt their face with incredible precision.
A standard 5-in-1 reflector is the most versatile option, giving you a full toolkit in one package:
| Reflector Surface | Effect on Light | My Go-To Use Case |
|---|---|---|
| White | Bounces a soft, neutral, and clean light. | The workhorse. Perfect for subtly lifting shadows without adding any color cast. |
| Silver | Bounces a brighter, punchier light with more contrast. | Great for when you need a crisp pop of light or when your light source is a bit far. |
| Gold | Bounces a distinctly warm, golden-toned light. | Fantastic for adding warmth to skin tones, especially when shooting during golden hour. |
| Black (Negative Fill) | Absorbs light instead of reflecting it. | Used to deepen shadows and crank up the contrast for a moodier, more dramatic feel. |
When you're using a reflector with window light, have your subject stand near the window, then place the reflector on the opposite side to bounce light back into the shadowed areas. Play around with the angle and distance of the reflector—you'll be surprised how much of a difference small adjustments can make.
Shooting Outdoors in Natural Light
Taking your portraits outside brings a whole new set of challenges and opportunities. The sun is a massive, incredibly harsh light source, and learning how to tame it is the name of the game.
On a bright, sunny day, the easiest way to get flattering outdoor portraits is to hunt for open shade. Place your subject just inside the shadow cast by a building, a cluster of trees, or a large overhang. They'll be lit by the soft, indirect light bouncing around in the open sky, which basically acts like a gigantic softbox. This simple trick lets you avoid the harsh, unflattering shadows and squinty eyes that direct sun causes.
Timing Your Session for the Golden Hour
Of course, we can't talk about natural light without mentioning the famous "golden hour." This is that magical window of time just after sunrise or just before sunset when the sun is hanging low in the sky.
During this period, the light is simply perfect:
- Warm: It has a beautiful golden glow that is incredibly flattering on all skin tones.
- Soft: The low angle means the sunlight travels through more of the earth's atmosphere, which diffuses it and creates softer shadows.
- Directional: The low sun is easy to work with. You can use it as a stunning backlight or rim light to create separation and make your subject pop from the background.
My favorite technique is to position my subject with the golden hour sun behind them. This creates a gorgeous halo of light in their hair and on their shoulders. Then, I just use a reflector to bounce some of that warm light back onto their face for a perfect exposure. It's a classic for a reason.
Common Questions on Portrait Lighting
When you first get into portrait lighting, a million questions will pop into your head. That's completely normal. Learning how to shape light is a journey, and I’ve seen photographers at every level run into the same challenges. I’ve put this section together to answer some of the most frequent questions I hear, giving you clear, straightforward advice to get you past those hurdles.
Think of this as a quick chat to build your confidence before you walk into your next shoot.
What’s the Most Versatile Beginner Setup?
If you're just starting out, my advice is always the same: keep it simple. The most powerful and flexible setup you can have is a single light and a big modifier, like a softbox or an umbrella.
I always point beginners toward loop lighting. It's the perfect sweet spot between being incredibly easy to set up and delivering professional, dimensional results. It’s universally flattering on almost any face. You just place your light slightly above your subject’s eye level and about 30-45 degrees to the side of your camera. All you're looking for is that little "loop" of shadow from the nose on their cheek. It's subtle, but it makes a world of difference.
How Can I Avoid Harsh Shadows?
Harsh, unflattering shadows almost always come from a light source that's too small and direct relative to your subject. To get that soft, beautiful light we all love, you have to make your light source feel bigger and softer.
Here are a few ways I do it on almost every shoot:
- Go Big with Modifiers: A 48-inch octabox will always give you softer light than a bare speedlight. It’s a simple rule: the larger the light source, the softer the shadows.
- Move Your Light Closer: This one feels backward at first, but moving your light closer to your subject makes it relatively larger from their perspective. A larger relative size helps the light wrap around their features more gently.
- Diffuse or Bounce It: You can either put something between the light and your subject (like a diffusion panel or scrim) or turn the light away and bounce it off a large, neutral surface like a white wall or a reflector. The bounced light becomes your new, massive light source.
The most important thing to remember is that relative size is everything. A tiny speedlight can create soft light if it’s just inches from the subject, while a huge light source placed far across a room will act like a hard, unforgiving light.
What's the Difference Between a Strobe and a Speedlight?
This one comes down to three things: power, recycle time, and portability.
A speedlight is that small, portable flash you can pop on your camera's hot shoe or use on a stand. They run on batteries, making them perfect for shooting on location or when you need to be nimble and move around a lot.
A strobe (or monolight) is the workhorse of the studio. They're much more powerful, and while many now have battery pack options, they were traditionally plugged into a wall. That extra power lets you use massive modifiers, keep your ISO low for super clean images, and even overpower the sun for outdoor portraits. They also recycle faster, meaning they’re ready to fire again much more quickly after a full-power flash.
How Do I Get a Pure White Background?
Getting a true, pure white background—what we call "high-key"—is all about lighting the background separately from your subject and, crucially, making it much brighter.
The classic setup uses two lights, one on each side, aimed just at your white seamless paper or wall. The trick is to meter your background and make it about 1.5 to 2 stops brighter than the light falling on your model. This overexposure is what blows the background out to pure white (RGB 255, 255, 255) in the camera.
Just be careful to "flag" your background lights with a piece of black card or position them so that no stray light spills forward and hits your subject. That spill can cause nasty lens flare and wash out the contrast on your portrait. And if you find your image is a bit too dark overall, don't panic. For a little post-production help, our guide on how to fix underexposed photos has some great recovery tips.
At Preset Curator, we believe that a great edit starts with great light. Our collection of premium Lightroom presets is designed to complement your lighting skills, helping you achieve a polished, professional look with consistency and ease. Whether you’re perfecting studio portraits or enhancing natural light shots, find the perfect preset to bring your creative vision to life. Explore our curated collections today!